Walkthrough of Return To Na Pali, an
Unreal Mission Pak created by
Legend Entertainment in Association with Epic
Games.
Copyright 1999 dinwitty (I have a
real name, i just wont post it up here)
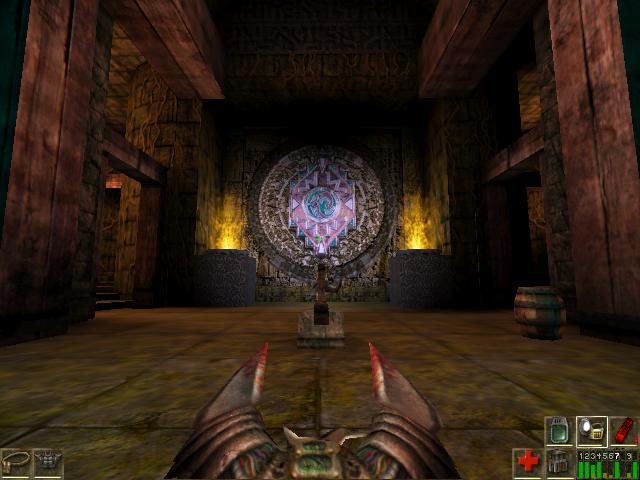
Velora Temple.
Author: Shane Caudle
Filename: Velora.unr
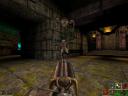
Be ready for some tricky battles, your search
will be put to the test.
Ahead are some barrels with flashlight, bulletpak,
and healthpak.
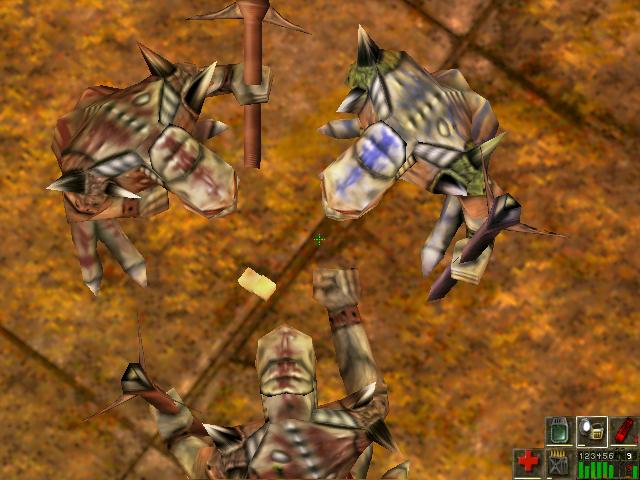
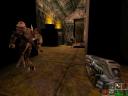
There are spiders everywhere, be on guard.
Barrels down here have Tarydium shard, healthpaks
and ASMD core.
Push the lever. This opens a large doorway with
a lift in in, hop on and lower down.
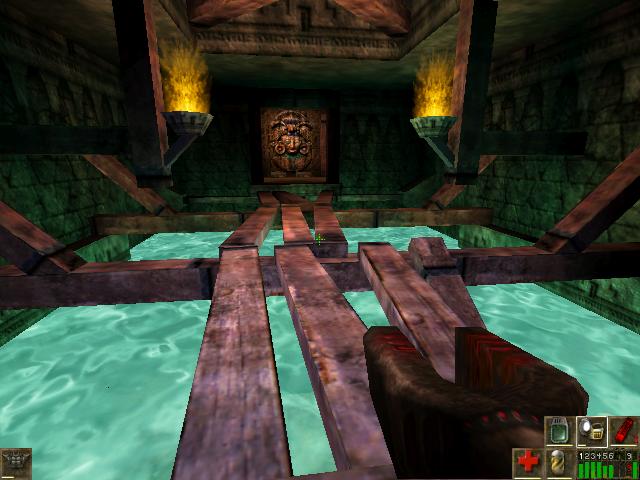
Just ahead is a planked passageway over water.
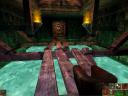
There are goodies in the water but lets walk
ahead on the planks, wary of Krall.
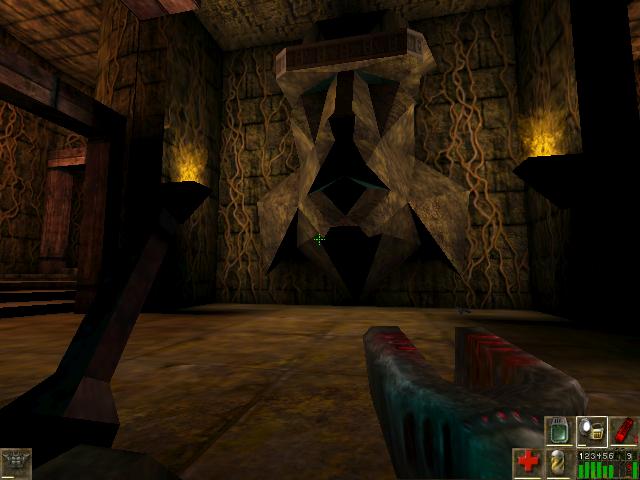
The chests ahead under the Face have a bulletpak
and an 8ball.
Go down the left side f the hallways, it goesnt
matter, either one gets you to the same place.
But I could see the Skaarj guarding better to
surprise it.
Down here in barrels and chests, the 8Ballgun,
Tarydium shard, healthpak.
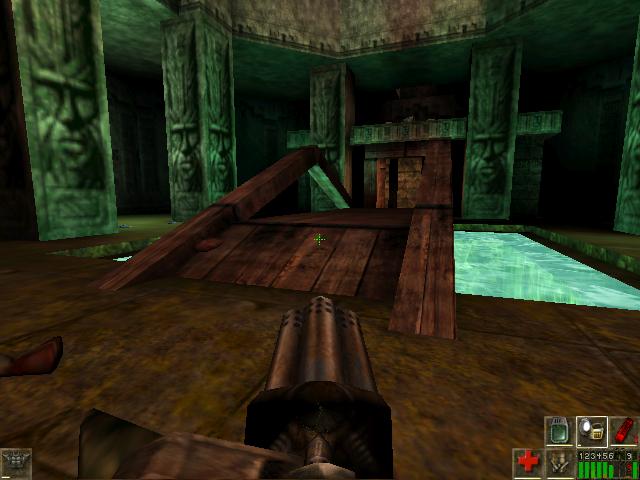
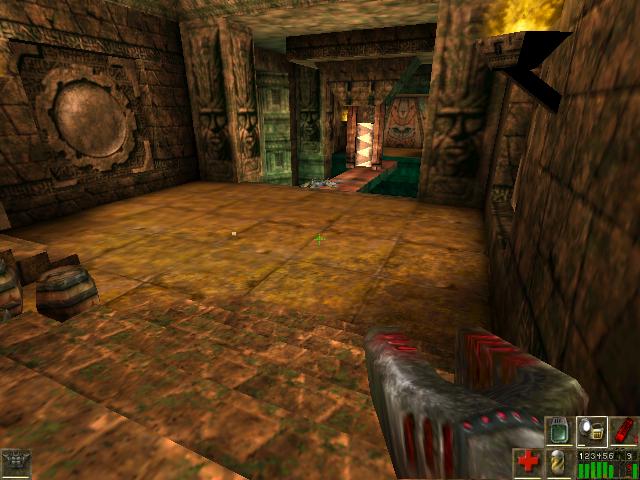
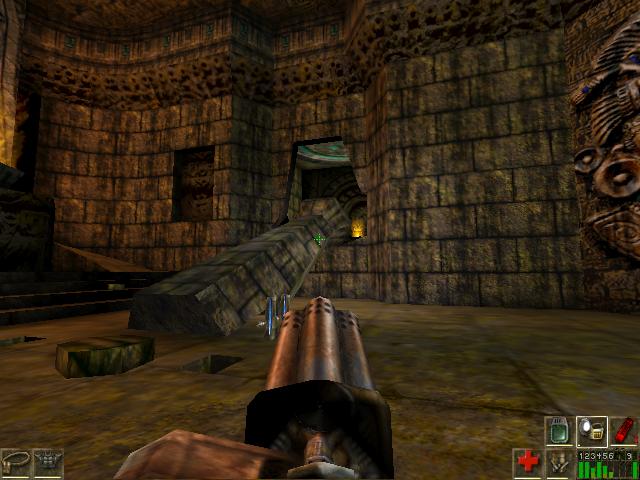
Look into the next room, there is a bridge. DO
NOT GET ON THE BRIDGE!!!
It will collapse on you. A skaarj may be after
you as well as some Kraal. Describing this area,
there is a passage on the other side of the bridge,
and to the left is another passage,
most likely we will encounter krall here, and
we will go that direction.
Wander around to find goodies loose and in barrels,
like Tarydium Shards, ASMD cores.
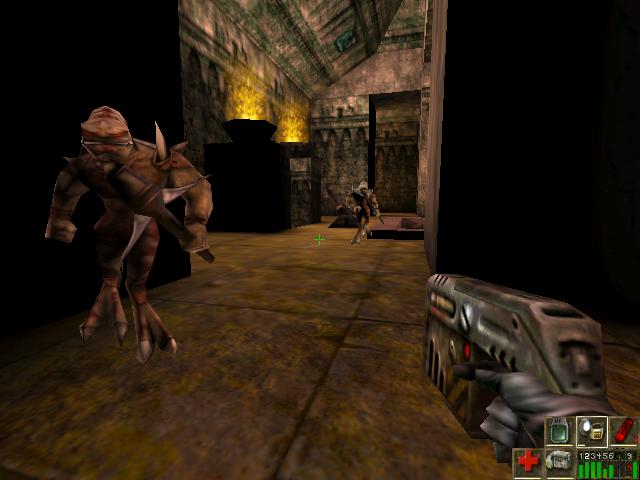
In the passage to the left, expect Krall.
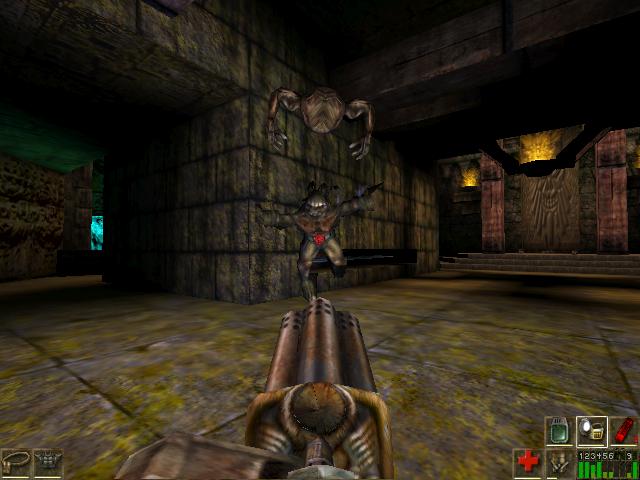
Depending on your play level, you will have
a multi-encounter here, Gasbag, Krall, Skaarj.
Play it right and they will go after each
other. And you can sit back and watch them take each other on. Of course,
join the fray anytime....
The next room has a ramp up and a GasBag.
In here in pottery, barrels, and loose, Tarydium
shard, ASMD core,
Flak Shells, Healthpak, and an ASMD. At the top
is a Krall.
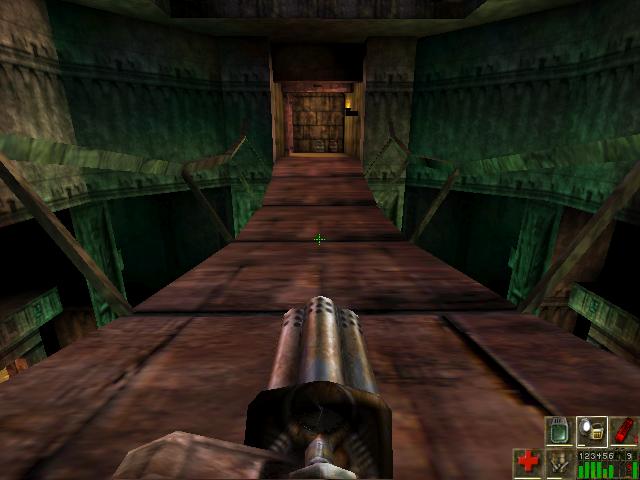
Cross the hanging bridge, if a Krall isnt after
you first.
Barrels at the turn have a bulletpak and healthpak.
Past the turn and another the area opens up with
more Krall,
spiders and some switches you need to move.
Scattered in this area in barrels and loose,
ASMD cores, 8Balls.

If you look down the Hole, you will see some
Krall, busy dicerolling.
Have fun here if you wish, alt fire 8 ball would
be good.
Move down the other passage here. Stop just before
the turn,
a Skaarj is waiting, 8Ball altfire is good here,
surprise the guy.
The Assault Vest is on the Veranda. If you jump
down here you will bypass some fun,
but we will return down.
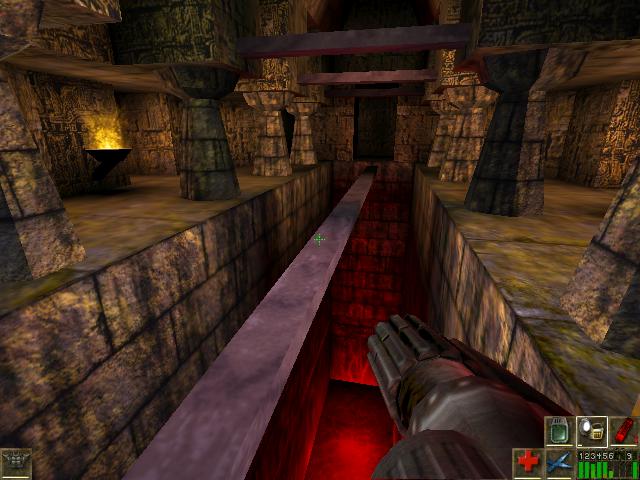
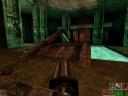
Go into in the next passage at the bridge, you
will see some chests with ASMD cores and
Tarydium Shard. Go down either stairs. You will
see something over a Plank bridge over Lava.
In the barrels here are 8Ball, NaliSeed, and
clip.
Before we cross the bridge, lets return to the
water at the previous bridge and jump in.
There are devilfish here. A clip is on the bottom.
Go down the passage you will pass an opening
up, but go further and up.
Tarydium Shards and the Stinger are next to a
body with a message.
You can exit the water on the angled beams and
return to the Lava room.
 Don't you wish you could leave it to Beaver, now?
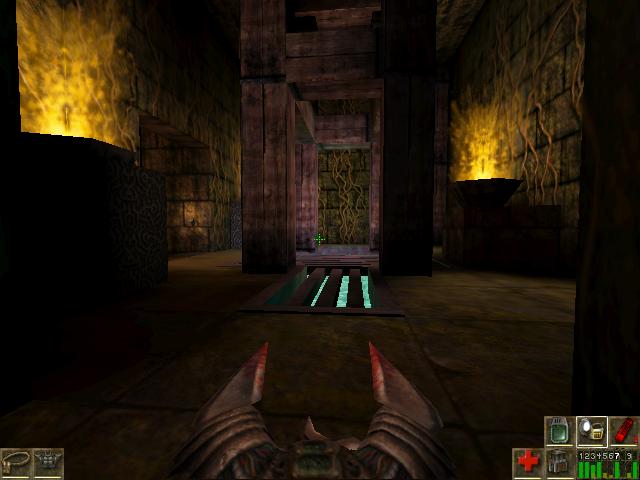
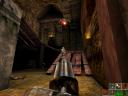
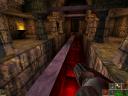
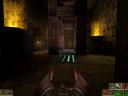
Approach the object over the bridge over Lava,
it starts to open and close, UGH, a Huge Cleaver!
Time yourself just right and run through. The
door at the end will open.

Ahead around the turn is a Krall and on the floor
is a Symbol.
This symbol is jinxed with flying arrows,
dont stand on it, the
Krall might walk over it and suddenly move sideways.
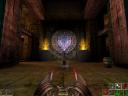
A door opens in the mouth of the face ahead.
I was in here once and I found the Krall stuck
against the wall,
unable to move, apparently one of the arrows
went thru it. In barrels and loose, Healthpak,
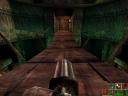
and Shards. (short now for Tarydium shards. Go
in the mouth, you will exit on a plank
over Lava. Jump over to the floor either side.
Ramps to the sides hide goodies and Krall.
A shieldbelt is at the top and a Krall guards
it. You can jump down to the 8Ball,
and jump down to the narrow beam to go forward
into the next room,
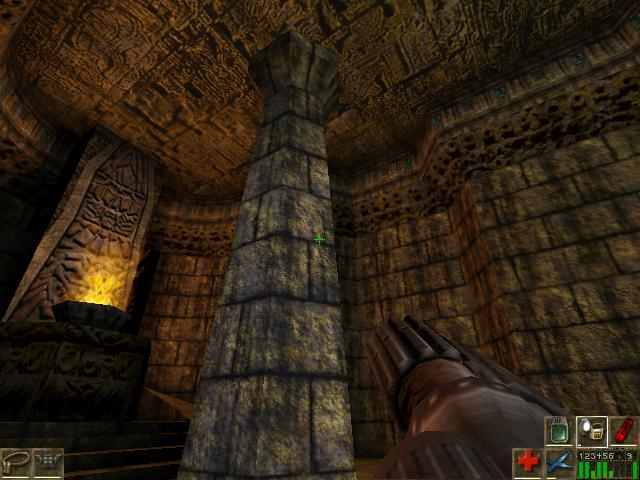
go down either side, watch for spiders. While
you are battling down here,


you might knock down the central pillar, jump
on it and enter it. A chest has a Bulletpak.
Blast the wood over the water and jump in. An
8ball is here, and a devilfish.
Go down the passage. It opens below, thers nothing
beyond so go down, there is another passage.
I havent pointed out Nalifruits much, I find
them scattered almost everywhere, but there is one here.
Another passage is here, enter it. A rifle and
ammo are in the next area.
Nothing above, continue straight. It opens to
a large area, a Slith is here.
Loose are Shards.

Go up the central Pyramid, but there are
Brutes waiting.
One side has the stone damaged, you can walk
up this.
The area exits on either end, one goes to the
room with the fallen pillar,
but the other way is the way we want to go and
there is a Skaarj waiting.

Down at the end you will see another Skaarj,
but there are spikes on the walls
and if you get close they will close, but if
you time it just right, you will alert the skaarj,
approach the spikes and it will close on him.
There is a Gasbag in here also.
If you retreat from the action and miss the Skaarj,
they may go after each other.
On either side here in short passageways with
waterfalls are buttons you must press,
with gasbags hiding away.
Ahead in the next room are flares and the Razorjack.
A door will open and a Skaarj is in the next
room. Flakshells are loose.
The Lift to the side has a switch that is hard
to see on the right. It will lower,
hop on and up you go. Enter the simicircular
area and they will open, a Skaarj is here and Spiders.
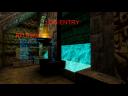
No need to press the switch, this area looks
the same as did when you first entered, but isnt the same.
Grab the Dispersion powerup.
Go up either circular staircase.
In a barrel is a naliseed and loose ASMD core
and Bulletpak.
Go forward into the doorway it will open and
up the stairs.
Intermission.
On to...
Nagomi Passage, part 2.
Author(s): Pancho/Nivlek
Filename: NagomiSun.unr

Return to Map menu.